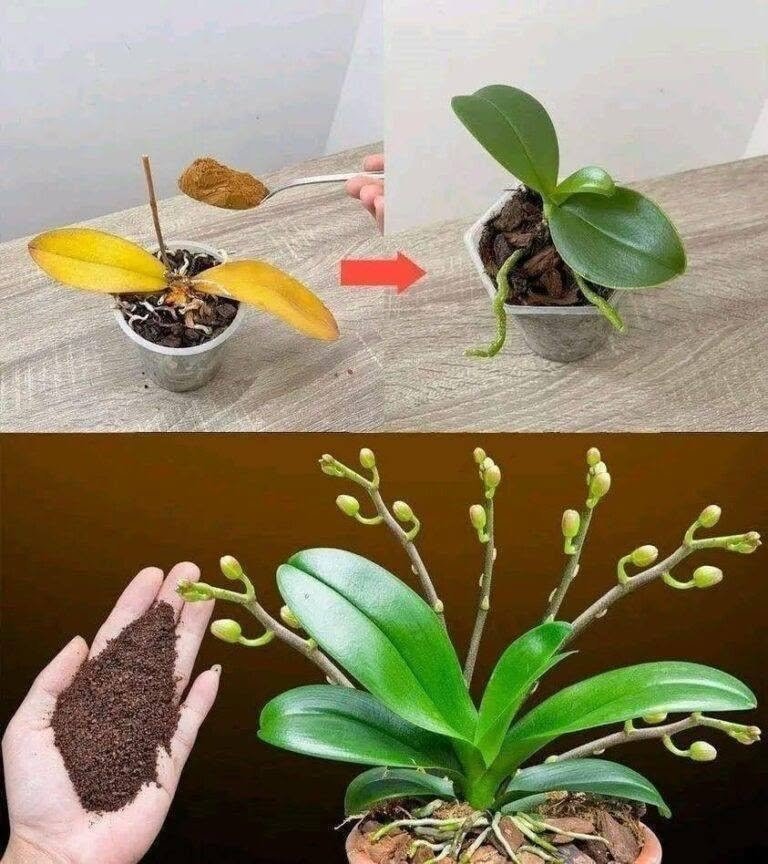
Give Your Orchid Just a Teaspoon—Here’s What May Help It Bloom Again
Orchids can be surprisingly stubborn. You may have a healthy plant with beautiful green leaves, yet months can pass without a single new flower.
Before you throw it away or buy another one, take a closer look at how you’re caring for it.
A “teaspoon trick” is often promoted online as a secret orchid fertilizer, but there is no single teaspoon-sized ingredient that reliably makes every orchid bloom. In fact, adding too much fertilizer—or using household ingredients such as sugar, coffee, or baking soda without understanding the plant’s needs—can damage the roots.
The good news is that you can use a small, measured amount of proper orchid fertilizer as part of a routine that gives your plant a much better chance of flowering again.
Why Your Orchid May Have Stopped Blooming
Most commonly grown orchids, especially Phalaenopsis orchids, don’t flower continuously.
After flowering, the plant naturally enters a period of vegetative growth. It uses this time to produce new leaves and roots and store energy for its next flowering cycle.
Lack of flowers can also be related to:
-
Insufficient light
-
Excessive watering
-
Poor drainage
-
Root damage
-
Very low humidity
-
Too much fertilizer
-
Incorrect temperatures
-
Lack of a day-night temperature difference
-
An unsuitable potting medium
So the answer isn’t necessarily “more fertilizer.”
The Teaspoon Approach
If you’re using a water-soluble orchid fertilizer, follow the product’s label rather than guessing the concentration.
A commonly recommended approach for orchids is to fertilize at a diluted strength during active growth rather than applying a large amount at once. Some growers use the principle of “weakly, weekly”, meaning a weak fertilizer solution is used regularly instead of a concentrated dose.
The exact amount depends on the fertilizer’s formulation, so a teaspoon of one product may be dramatically different from a teaspoon of another.
Never assume that one teaspoon is a universal orchid dose.
Light Is Often More Important Than Fertilizer
If your orchid has healthy leaves but refuses to flower, inadequate light may be part of the problem.
Phalaenopsis orchids generally prefer bright, indirect light. An east-facing window can work well, while intense direct afternoon sunlight through glass can scorch the leaves.
A simple clue is the leaf color.
Very dark green leaves can indicate that the plant isn’t receiving enough light, while yellowing or bleached-looking leaves can indicate excessive light or other problems.
Water the Roots—Not on a Schedule
Orchids don’t appreciate constantly wet roots.
Instead of watering automatically every few days, check the plant and its growing medium.
If the roots look silvery and the medium has dried considerably, it’s generally time to water. If the roots are green and the medium is still damp, waiting may be better.
When watering, allow excess water to drain completely.
Never leave the orchid sitting in stagnant water.
Healthy Roots Come First
A plant cannot produce impressive flowers if its root system is struggling.
Healthy orchid roots are generally firm rather than mushy. Brown, soft, collapsing roots can indicate excessive moisture or root rot.
If you suspect root problems, improving drainage and but refuses to produce a flower spike, slightly cooler nighttime conditions may sometimes repotting into an appropriate orchid medium may be more important than adding fertilizer.
Don’t Forget Temperature
Phalaenopsis orchids can respond to a modest difference between daytime and nighttime temperatures.
If your plant is growing well but refuses to produce a flower spike, slightly cooler nighttime conditions may sometimes help trigger flowering, depending on the orchid and its environment.
Avoid sudden temperature extremes, drafts, or placing the plant directly beside heating or air-conditioning vents.
What About Homemade Orchid “Miracle” Remedies?
This is where caution is important.
You may see advice recommending:
-
Sugar water
-
Rice water
-
Coffee
-
Milk
-
Banana peels
-
Vinegar
-
Baking soda
-
Various kitchen mixtures
These remedies may sound harmless, but they aren’t necessarily beneficial to orchids. Some can encourage microbial growth, alter the growing medium, or damage roots when used incorrectly.
If your goal is healthy growth and reliable flowering, a properly formulated orchid fertilizer used according to its label is a much safer choice.
A Simple Routine to Encourage Reblooming
Instead of relying on a mystery ingredient, focus on the basics:
-
Give it bright, indirect light.
-
Water thoroughly when the plant actually needs water.
-
Allow excess water to drain away.
-
Use an orchid-specific fertilizer according to its instructions.
-
Keep the roots healthy and well-aerated.
-
Maintain reasonable humidity and airflow.
-
Give the plant time to recover after flowering.
And remember that orchids are living plants, not machines. Even excellent care doesn’t guarantee that a plant will suddenly produce dozens of flowers.
The Bottom Line
The idea that “one teaspoon” of a secret ingredient will instantly cover an orchid with flowers makes a great gardening headline, but real orchid care is more nuanced.
If you want your orchid to bloom again, concentrate on what actually matters: light, healthy roots, appropriate watering, suitable temperatures, and correctly diluted fertilizer.
A small, measured amount of the right fertilizer can be useful—but the real “secret” is consistent care rather than a miracle recipe.